Each Azure tenant requires a separate integration. Repeat the setup steps below for each tenant you want to connect to TENET.
Integration Setup Guide
Connect your Azure environment to TENET using the automated wizard or the manual steps below.
TENET Setup Wizard (Recommended)
The fastest way to connect TENET to your Azure environment is with the TENET Setup Wizard. It guides you through the entire process automatically — creating the app registration, configuring API permissions, and assigning the required roles — in just a few clicks. Watch the video below to see how it works.
Manual Setup
Follow these steps to manually configure the Azure app registration and permissions required by TENET.
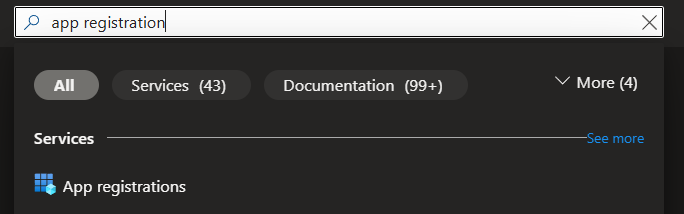
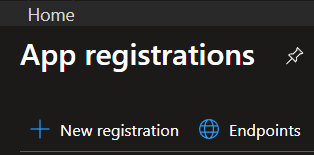
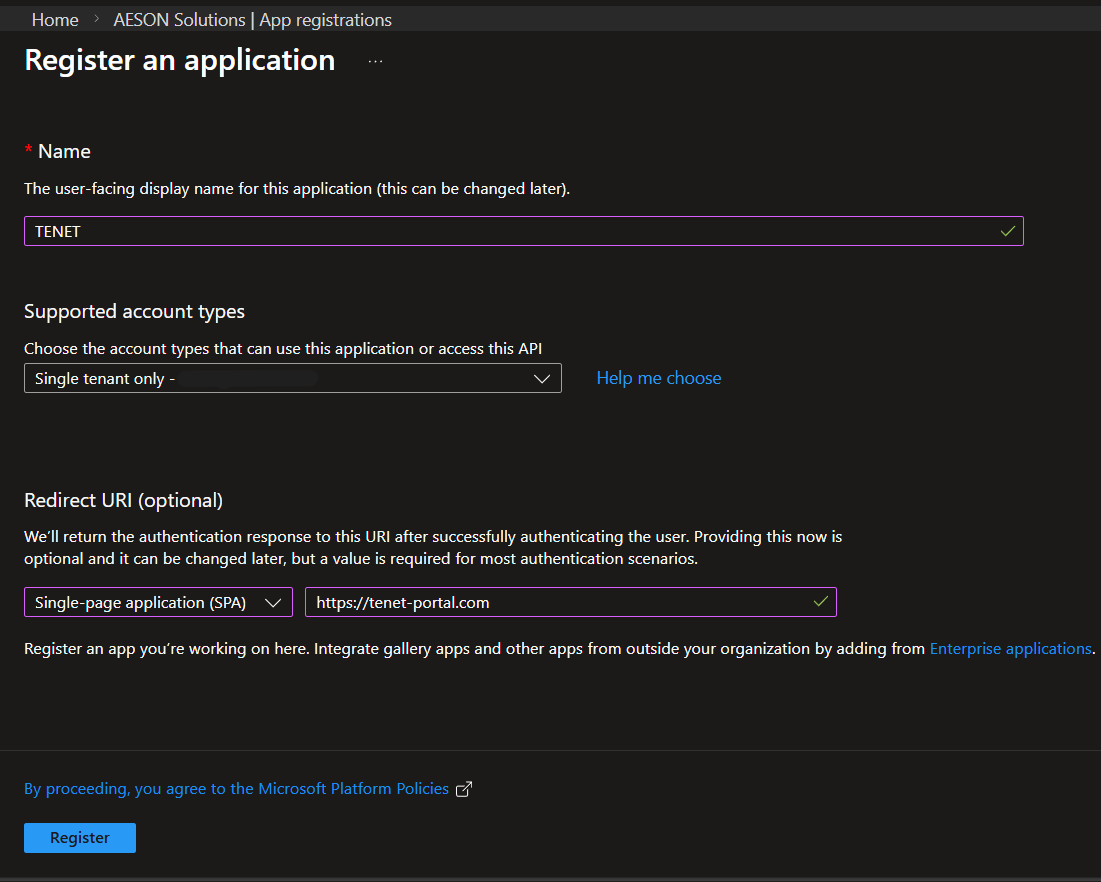
Step 1: Creating an app registration in the Azure Portal
- Name: TENET
- Redirect URI: Select a platform: Single-page application (SPA)
- URL: https://tenet-portal.com
- Click Register
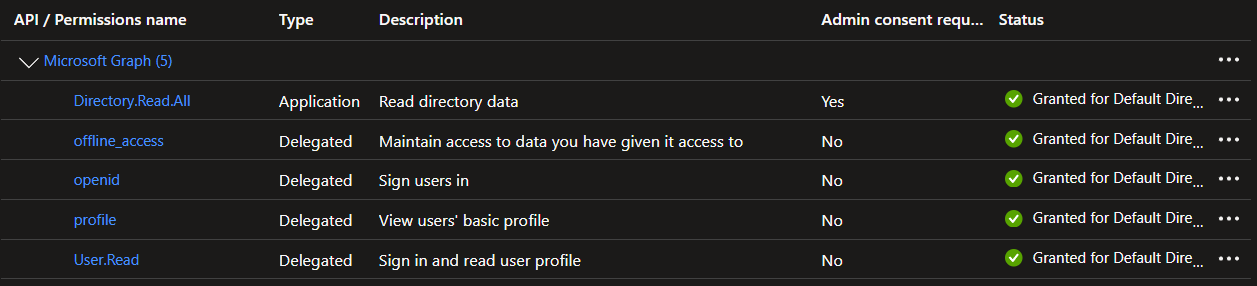
Step 2: Configure API Permissions
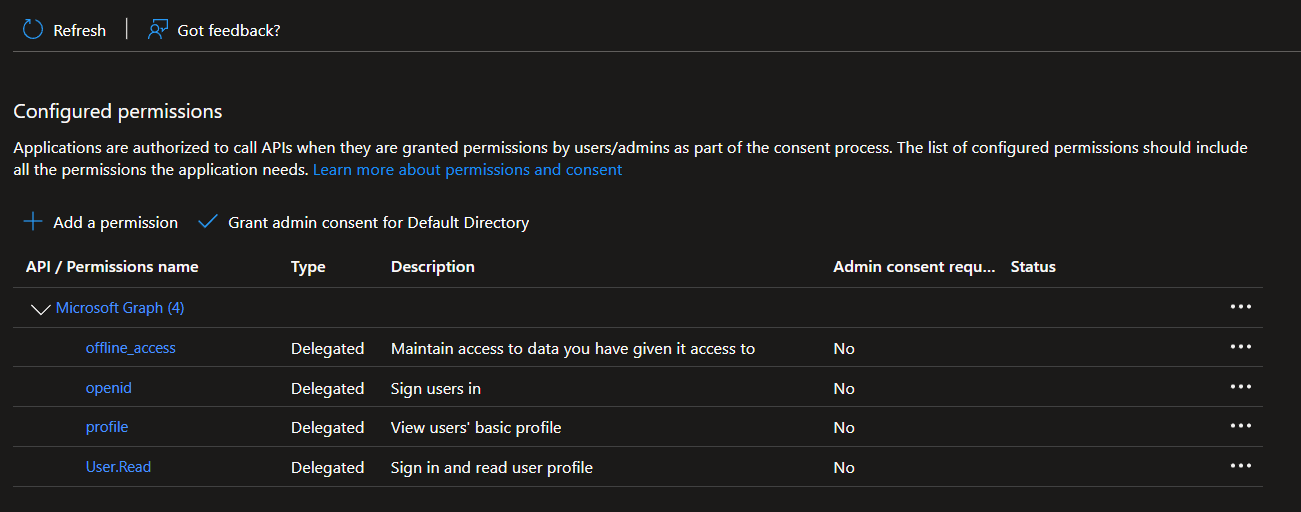
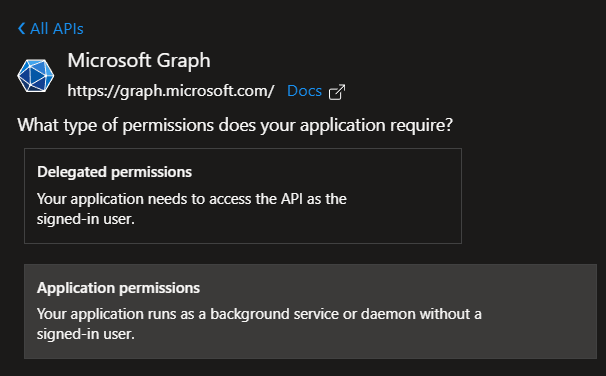
Ensure you select Application Permissions, not Delegated. This is required for the integration to work correctly.
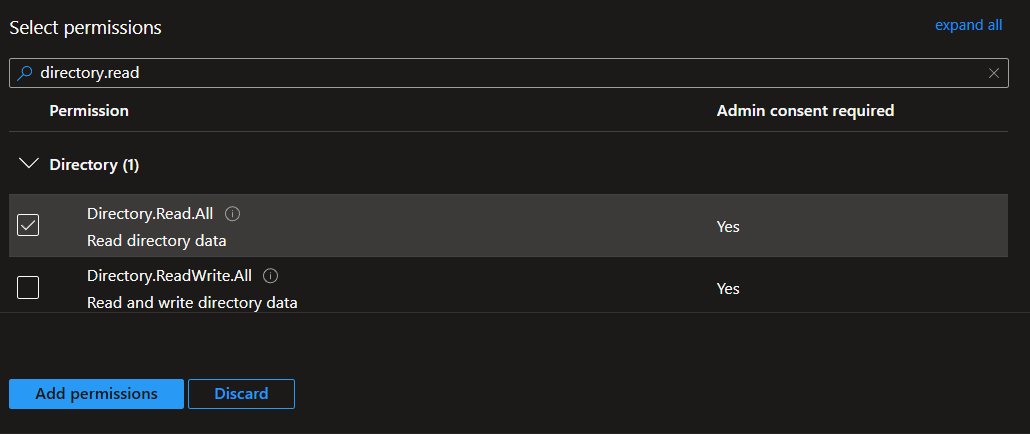
D. Search for and select AuditLog.Read.All, Directory.Read.All, Reports.Read.All, and SecurityEvents.Read.All
- Click add permissions
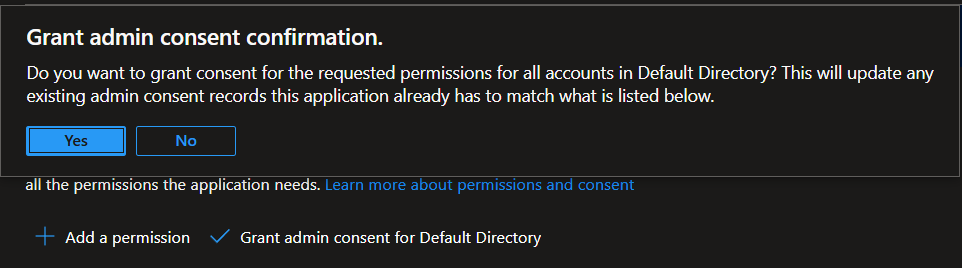
- Then click on Grant admin consent for [Your Tenant] and confirm selection
- Click + Add a permission → APIs my organization uses
- Search for Office 365 Management Activity API and select it
- Select Application permissions → ActivityFeed.Read
- Click Add permissions, then Grant admin consent
- Click + Add a permission → APIs my organization uses
- Search for WindowsDefenderATP and select it
- Select Application permissions: Machine.Read.All, Vulnerability.Read.All, Alert.Read.All
- Click Add permissions, then Grant admin consent
These permissions are non-fatal if your tenant has no Microsoft Defender for Endpoint licence. TENET will skip Defender data for unlicensed tenants.
- Click + Add a permission → APIs my organization uses
- Search for Application Insights API and select it
- Select Delegated permissions → Data.Read
- Click Add permissions, then Grant admin consent (tenant-wide)
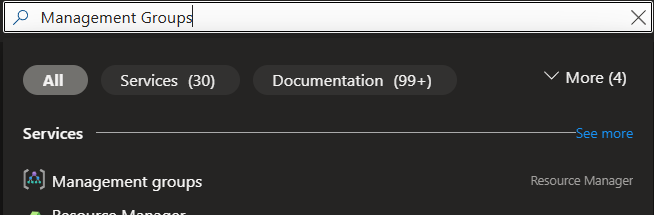
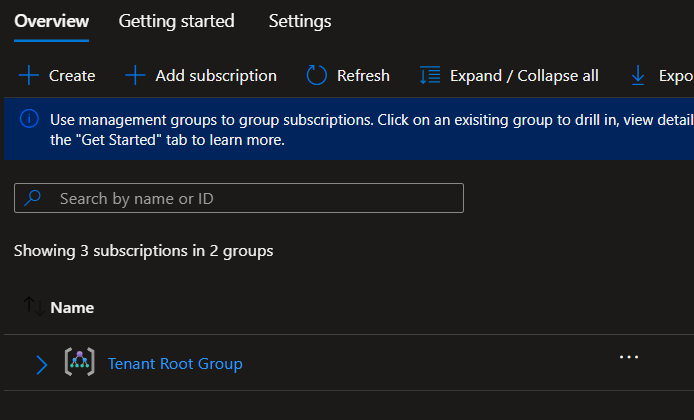
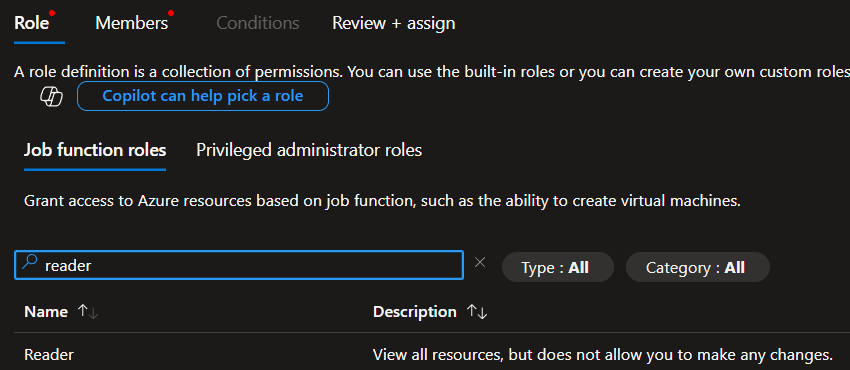
Step 3: Assign RBAC roles
The following steps grant TENET read access to all subscriptions within the management group. To limit access to specific subscriptions only, follow the same steps but search for individual subscription names instead of Management Groups.
Global Administrator but can't access Management Groups? Follow Microsoft's guide to elevate your access.

Repeat this step five more times to also assign Monitoring Reader, Security Reader, Cognitive Services Usages Reader, Billing Reader, and Power Platform reader. All six roles are required.
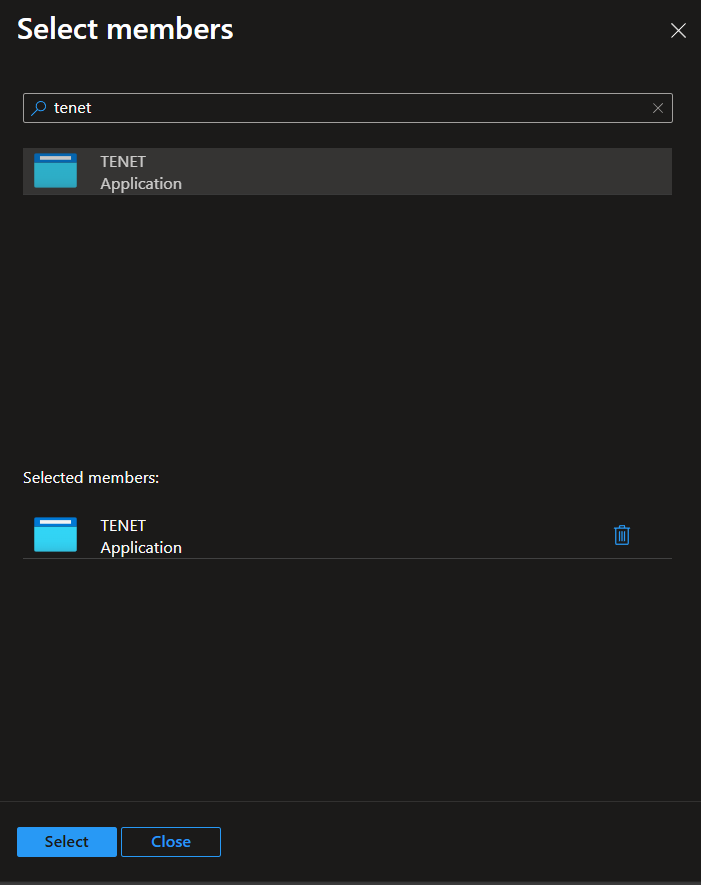
- Click on the Members tab, and then + Select members.
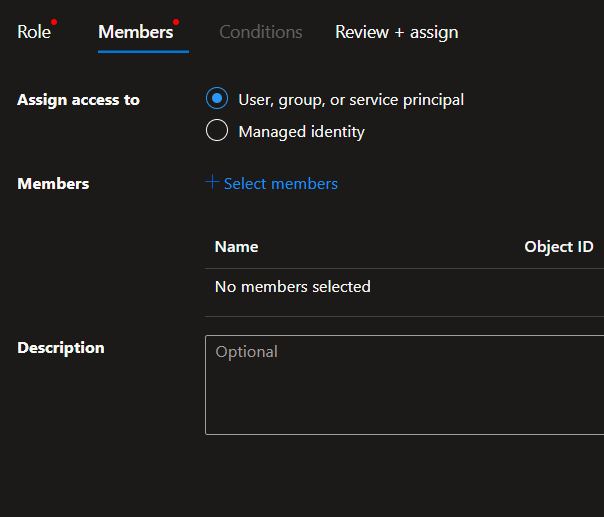
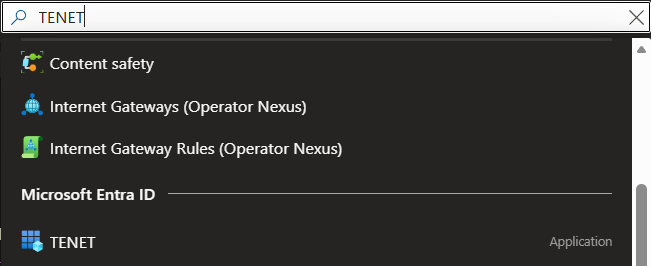
- In the + Select Members panel, search for the name of the app registration that you created earlier, then click on it
- Click Select at the bottom
All six roles (Reader, Monitoring Reader, Security Reader, Cognitive Services Usages Reader, Billing Reader, Power Platform reader) are required. If not using management groups, ensure each role is assigned per individual subscription.

- Navigate to the Microsoft Entra admin center
- Go to Roles & administrators → Global Reader
- Click + Add assignments, search for your TENET app registration, and assign
Global Reader grants read access to Conditional Access policies, Identity Protection, and Intune device compliance — scoped to Entra ID rather than Azure subscriptions.
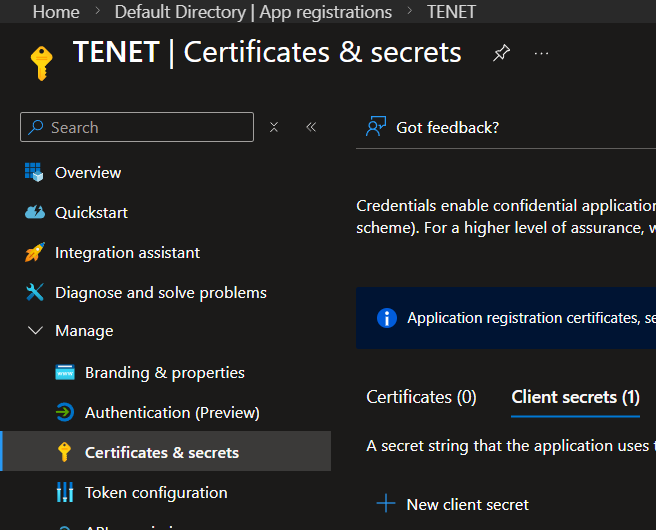
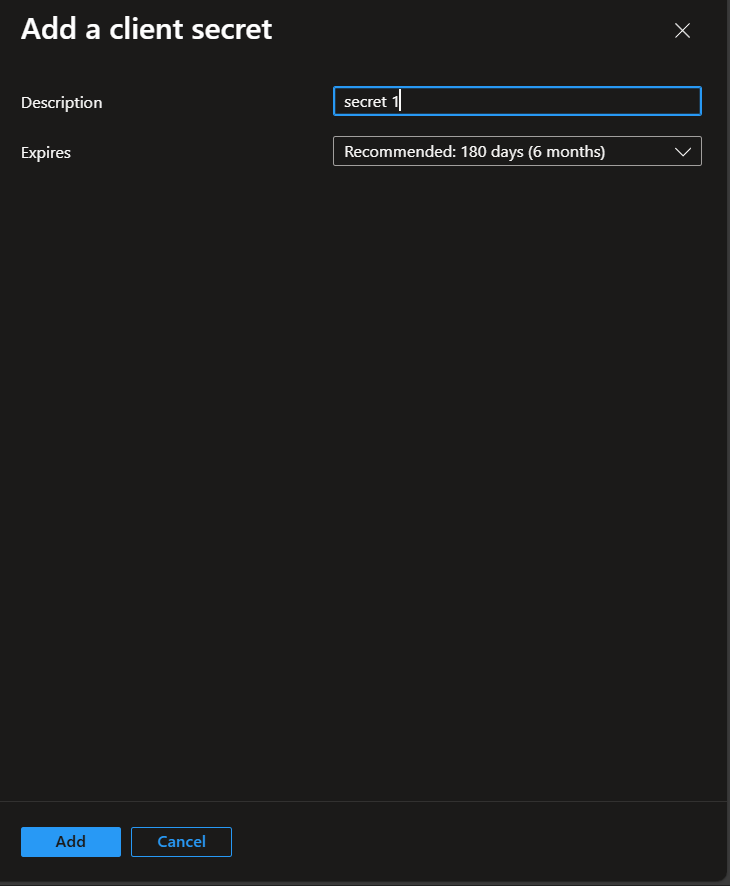
Step 4: Create Client Secret
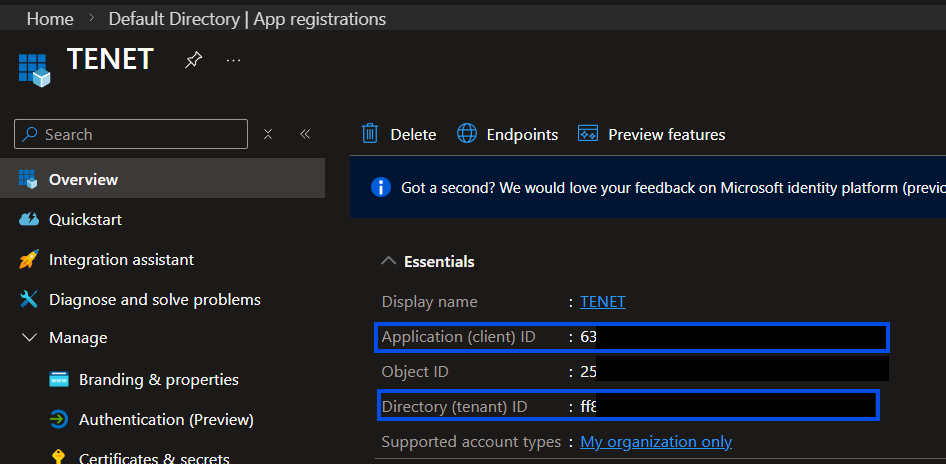
Please take note of the Application (client) ID and Directory (tenant) ID from this page. You will need to copy these across to the TENET Platform later.

Step 5: Add Credentials to TENET
Enter a friendly Tenant Name and previously noted Tenant ID, Client ID & Client Secret then click on Start Assessment
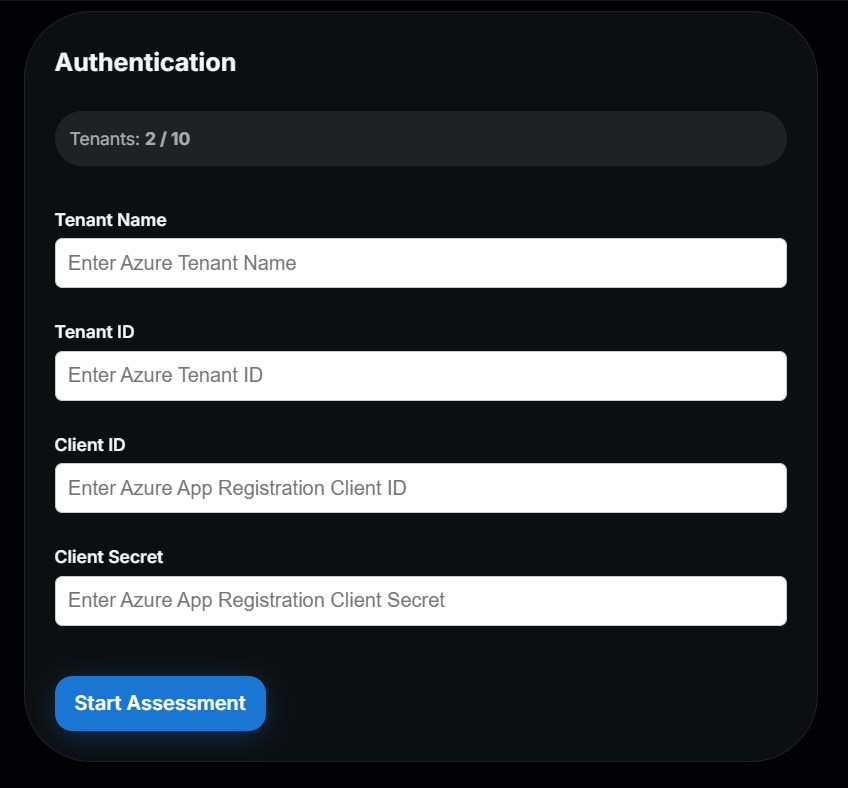
Wait for validation and initial data fetch to be completed (about 45 seconds) and you can start reviewing TENET's insights.
You're done! 🎉
Managing and Monitoring Assessments
Once connected, TENET continuously monitors your Azure environment. Here's what to expect.
Full assessments run every 12 hours. Anomaly detection refreshes every hour. A manual refresh is also available in the Directories tab.
If missing permissions or invalid credentials are detected, TENET surfaces error messages in the platform. Adjust your Azure role assignments accordingly.
Plan Limits
Azure integration is available on all plans. The number of tenants you can connect depends on your plan.
Full access to all Scale plan features. Explore every capability with no restrictions during your trial.
Automated and on-demand assessments for a single Azure tenant with up to 5 platform users.
Automated and on-demand assessments for multiple tenants simultaneously with a custom number of users.
Azure service integrations, out of the box
No agents, deployments or configurations required.
Want to learn more?
Dig into more resources.
TENET extends beyond Azure to give you unified audit logging, identity risk events, device compliance, and data sharing audit across your Microsoft 365 tenant.
View Microsoft 365 integrationReady to integrate your Azure environment?
Get up and running in minutes with TENET's native Azure integration
14-day free trial · 2 min setup · No credit card required