
Built for Microsoft Azure
TENET provides deep, native integration with Azure through direct SDK connectivity, delivering comprehensive visibility across your entire Azure estate.
This guide provides step-by-step instructions to configure the integration using Azure app registrations and management groups, ensuring TENET has the necessary permissions.
How It Works
Connect
Link your Azure tenant by creating a secure app registration with read-only permissions in minutes.
Assess
TENET automatically establishes resource usage baselines and analyzes your environment.
Act
Receive actionable insights with AI assistant-enabled remediation guidance tailored to your infrastructure.
Do you have multiple Azure tenants?
Each Azure tenant requires a separate integration. Please repeat the steps below for each of your tenants.
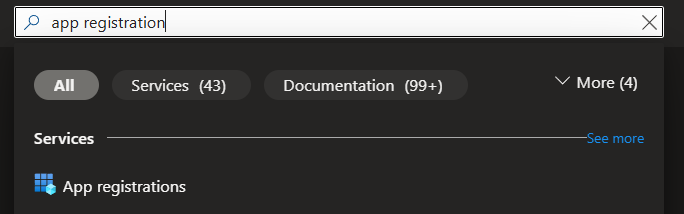
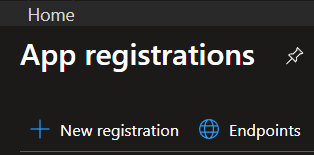
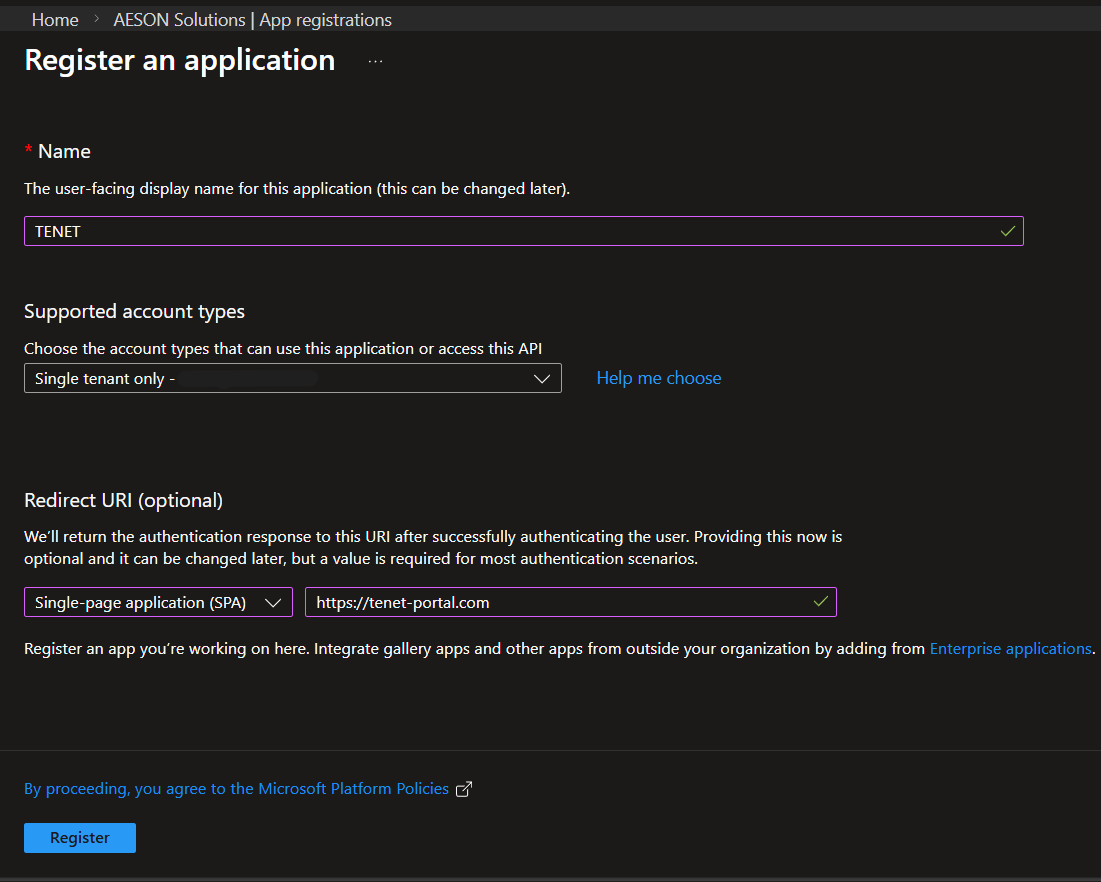
Step 1: Creating an app registration in the Azure Portal
- Name: TENET
- Redirect URI: Select a platform: Single-page application (SPA)
- URL: https://tenet-portal.com
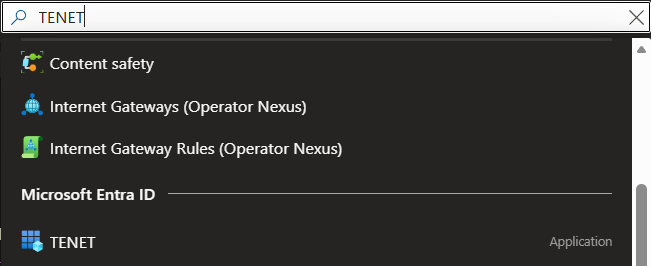
- Click Register
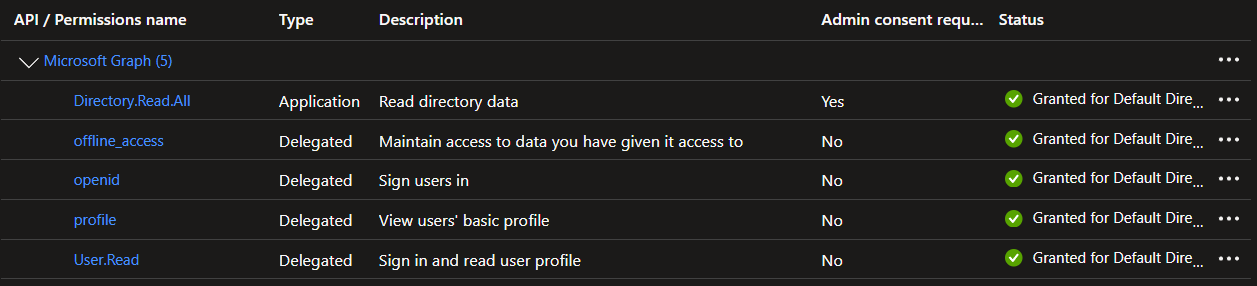
Step 2: Configure API Permissions
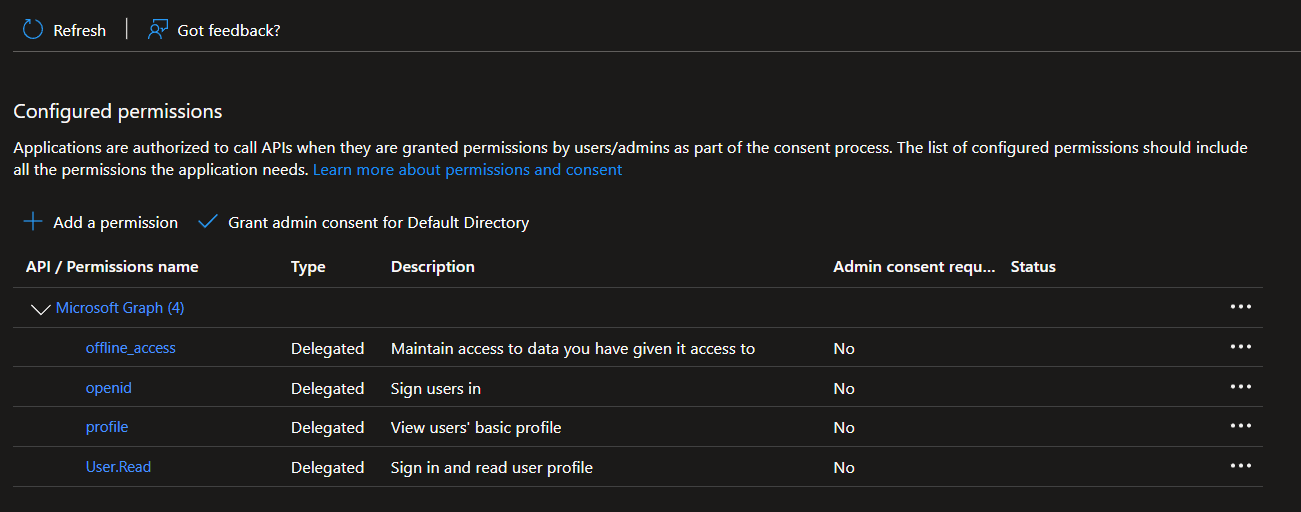
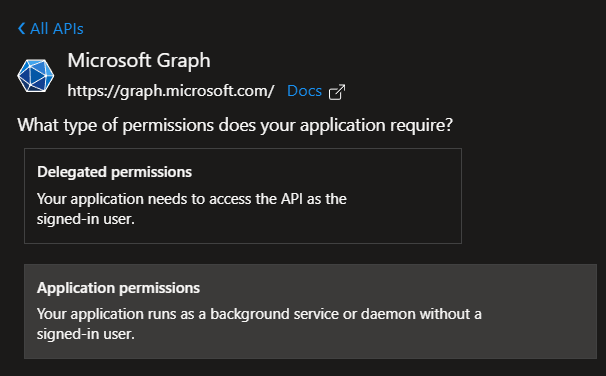
Please ensure that you select 'Application Permissions', as this is the type we need for the integration to work.
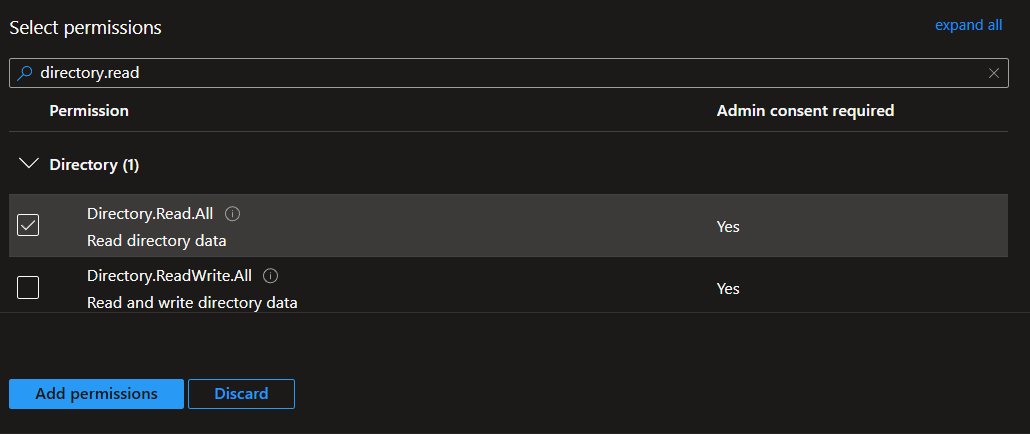
8. Search for and select Directory.Read.All (Enables TENET to read directory data for synchronization)
- Click add permissions
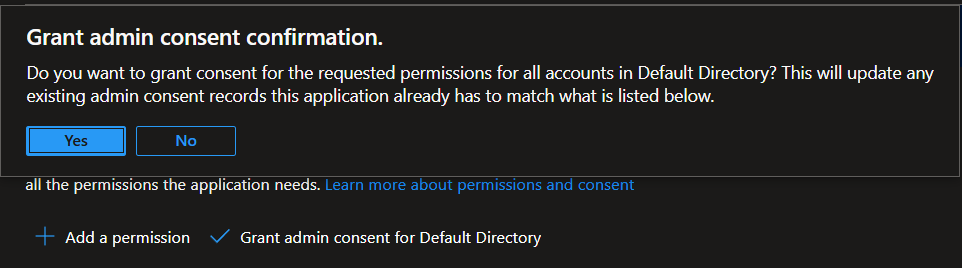
- Then click on Grant admin consent for [Your Tenant] and confirm selection
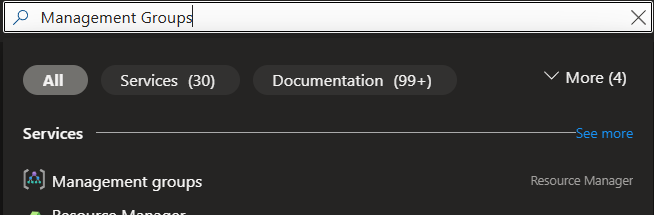
Step 3: Grant the TENET application Subscription Permissions
Note: the following steps grant TENET read access to all available subscriptions within the management group, if you wish to limit this to only specific subscriptions, you can follow the same steps but start by searching for the names of those specific subscriptions rather than Management Groups.
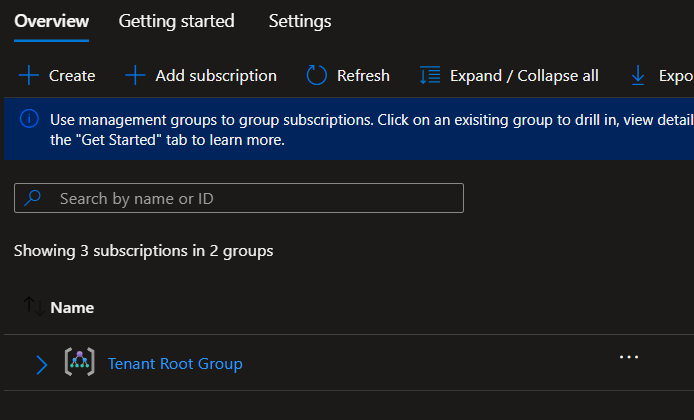
If you are a Global Administrator but you are unable to access management groups, you can elevate your access to manage all Azure subscriptions and management groups by following these steps: Elevate access for a global admin

Note: This step will need to be repeated again to add Monitoring reader and Security reader roles to be completed.
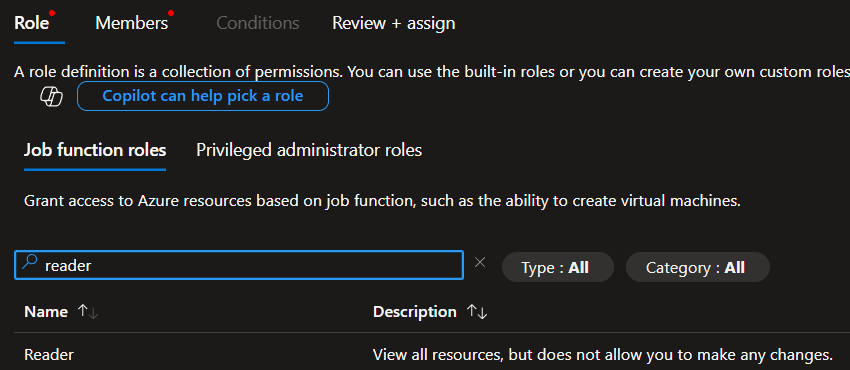
- Click on the Members tab, and then + Select members.
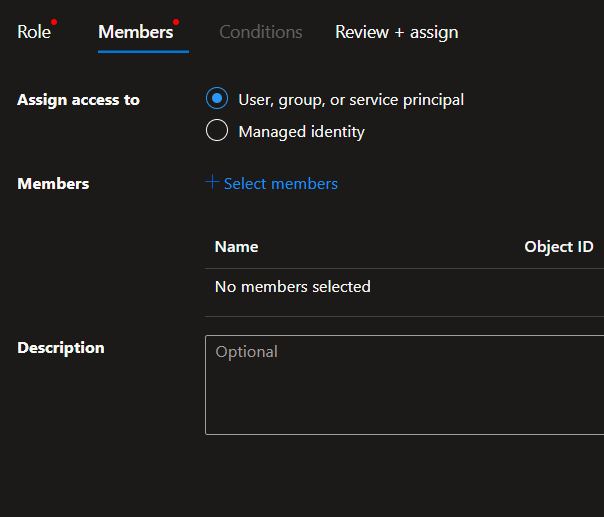
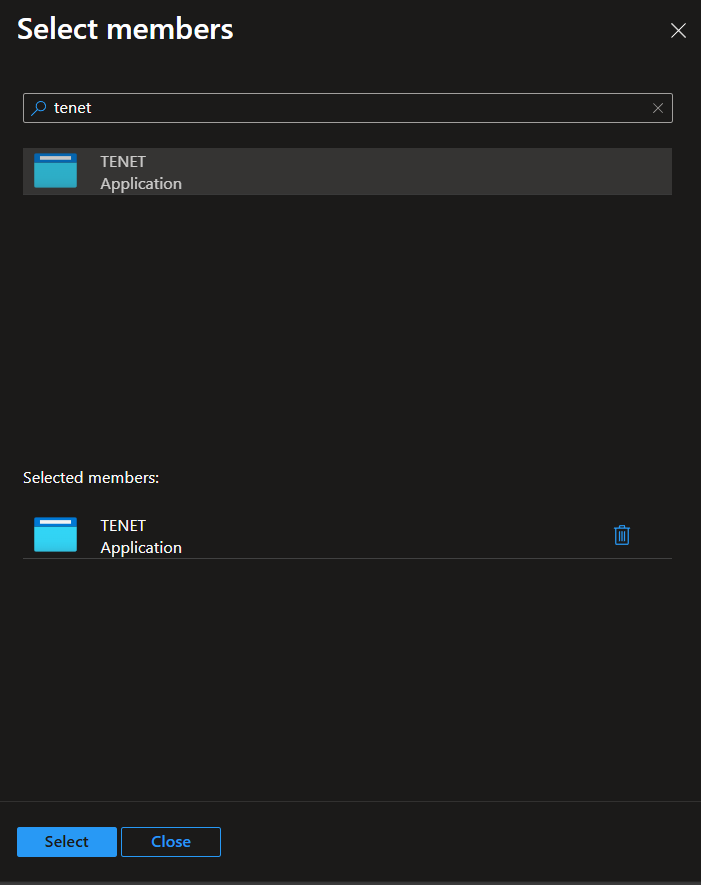
- In the + Select Members panel, search for the name of the app registration that you created earlier, then click on it
- Click Select at the bottom
Note: All 3 permissions are necessary for the application to function as intended. Ensure they are added for each subscription when not using management groups.

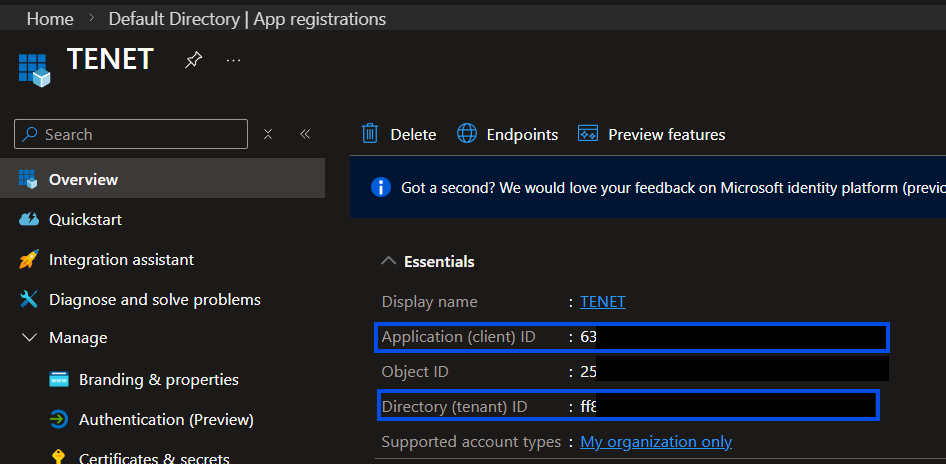
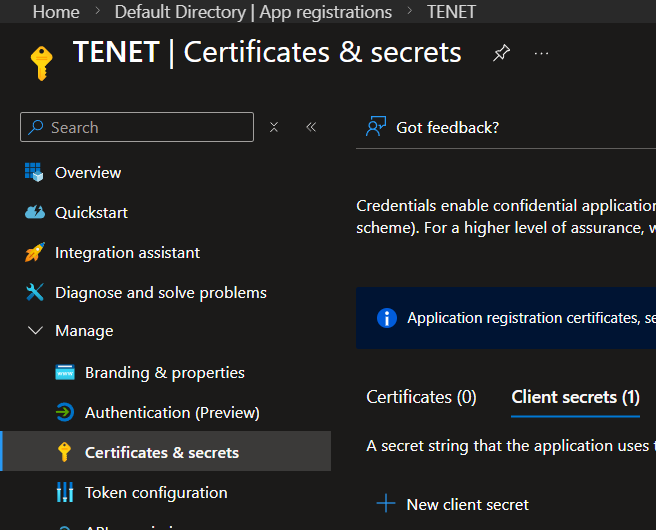
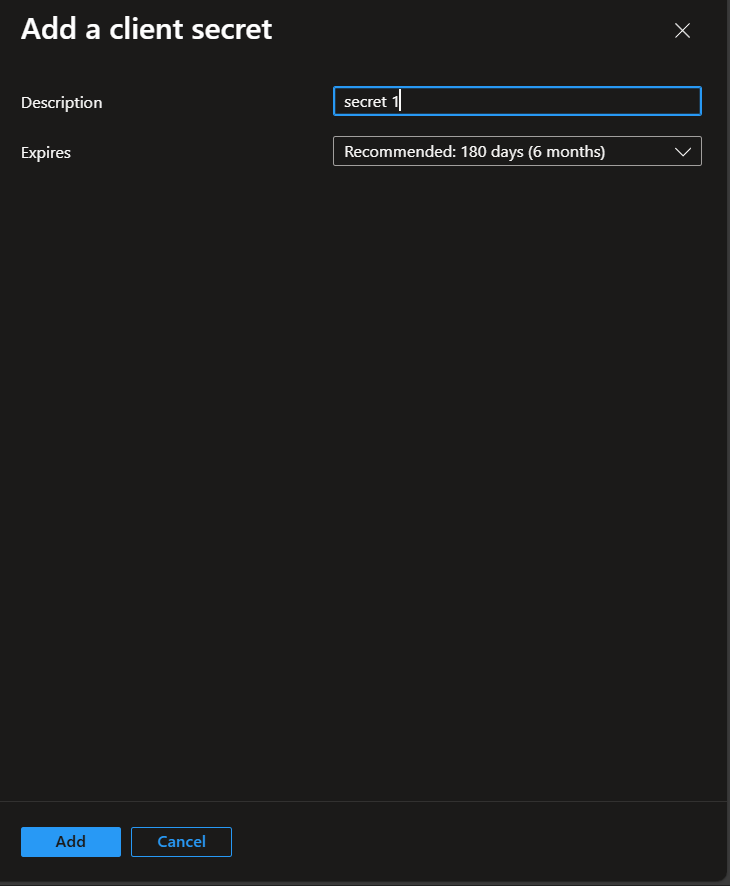
Step 4: Create Client Secret
Please take note of the Application (client) ID and Directory (tenant) ID from this page - you will need to copy these across to the TENET Platform later.

Step 5: Add Credentials to TENET
Enter a friendly Tenant Name and previously noted Tenant ID, Client ID & Client Secret then click on Start Assessment
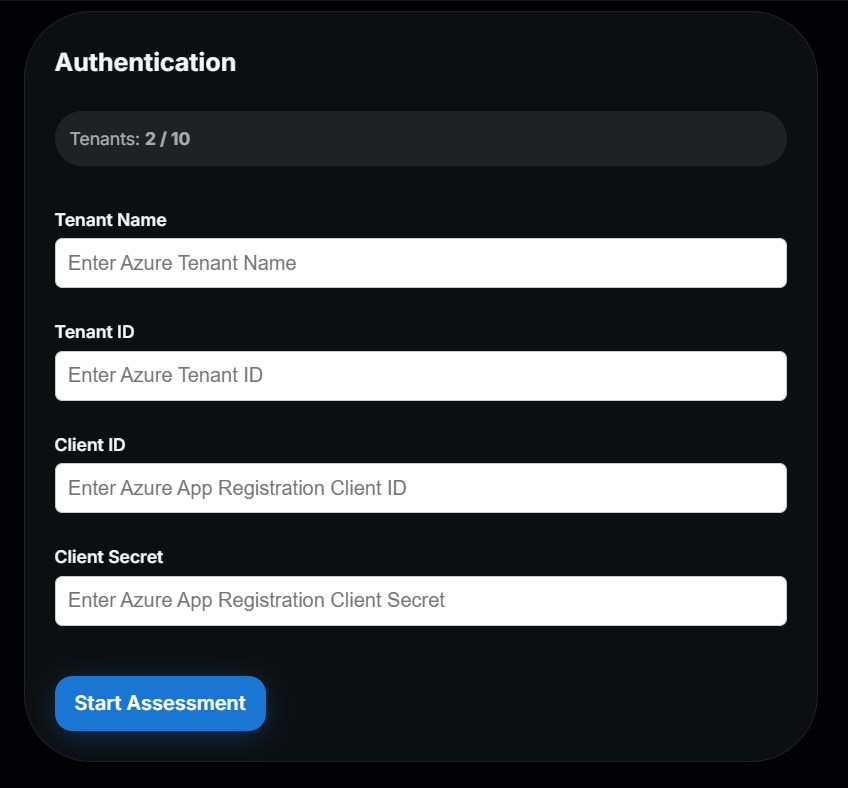
Wait for validation and initial data fetch to be completed (about 45 seconds) and you can start reviewing TENET's insights.
You're done! 🎉
Managing and Monitoring Assessments
- TENET Assessments run automatically every 12 hours with Anomaly detection running every hour and a manual refresh option is available in the directories tab.
- If missing permissions or invalid credentials are detected during an assessment, you'll see error messages in your TENET Platform. Adjust your permissions accordingly.
Plan Limits
- Trial (14‑days): allows you to explore TENET with all scale features unlocked for you.
- Scale Plan: Enables automated and on-demand assessments for a single tenant.
- Pro Plan: Enables automated and on-demand assessments for multiple tenants simultaneously.
Ready to integrate your Azure environment?
Get up and running in minutes with TENET's native Azure integration
14-day free trial · 5 minute setup · No credit card required